SplinterFaction Real-time strategy
Loz Alliance — Unit Reference

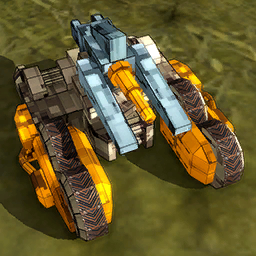
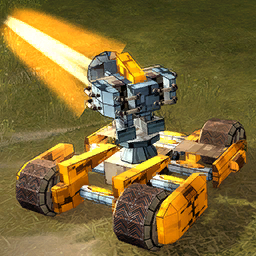
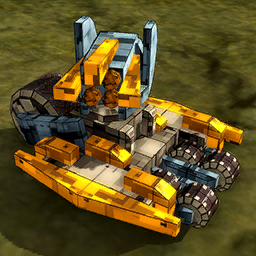
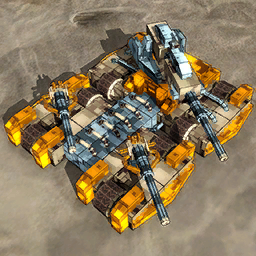
Slow heavy tanks, personal and projected energy shields, heat and railgun weaponry. Loz don't raid. They arrive.

Jump to: Command and construction · Production · Ground — Tier 1 · Ground — Tier 2 · Ground — Tier 3 · Ground — Tier 4 · Air · Naval · Defence structures

Command and construction

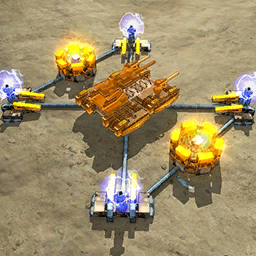
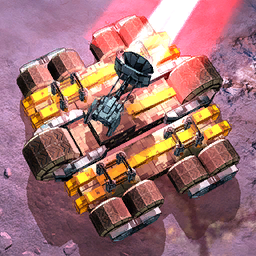
Placeholder: Loz Alliance Command Unit

Loz Alliance Command Unit

Commander · Heat ray

The player's starting unit and the irreplaceable centre of every match. It builds all structures, reclaims wreckage, and captures enemy buildings, while its heat ray accumulates thermal stress on targets with every burst — a sufficiently overheated unit will malfunction and shut down entirely. Upgrades through four tiers alongside tech progression, gaining range and dramatically increased damage at each step. Losing the Commander ends the game.
Placeholder: Architect

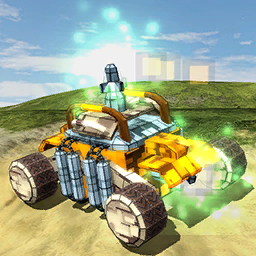
Architect

Ground constructor

The dedicated ground construction unit, capable of building structures, reclaiming wreckage, and capturing enemy buildings. Engineers are the engine of any expanding economy — build them constantly and keep them busy. A stationary engineer is a wasted investment.

Placeholder: Fabricator

Fabricator

Air constructor

A flying construction unit capable of building, reclaiming, and capturing from the air. It reaches terrain inaccessible to ground engineers, making it essential for island maps, amphibious operations, or forward infrastructure in contested areas. Cannot survive direct engagement — keep it escorted or well clear of any fighting.

Production

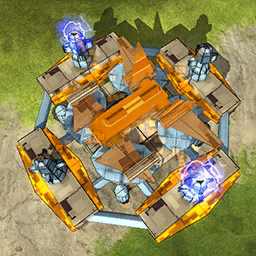
Placeholder: Land Factory

Land Factory

Ground production

The primary ground production facility, producing the full range of land units available at its current tech tier. Running two factories in parallel when metal income allows dramatically accelerates production — and since nothing can assist a factory, it's the only way to. Losing one is a serious setback.

Placeholder: VTOL Factory

VTOL Factory

Air production

Produces all air units. Activates immediately on completion. A second Air Plant runs parallel queues when air power is the strategic focus. Keep it away from the front line.
Placeholder: Sea Factory

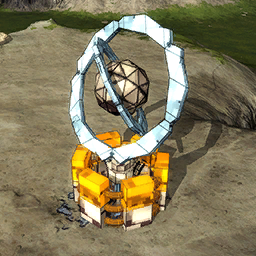
Sea Factory

Naval production

The naval production facility, built in sufficiently deep water and capable of producing the full naval roster. Position it in a sheltered bay or behind a defensive line if possible — it is difficult to replace quickly once lost.

Ground — Tier 1

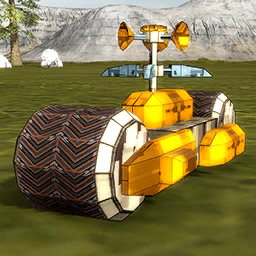
Placeholder: Flea

Flea

Scout

Built exclusively for speed and vision range. Carries no weapons and cannot fight — its job is to stay alive and relay information. The fastest ground unit the Alliance fields at Tier 1, exceptionally difficult to catch when handled correctly. Probe enemy positions, spot for artillery, and maintain map awareness without committing combat units.

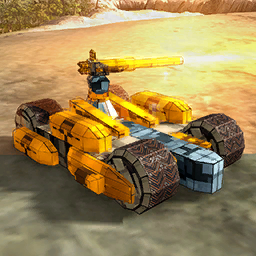
Placeholder: Diamondback

Diamondback

Raider

The standard fast raider, built for hit-and-run harassment of lightly defended targets. Its disruption laser deals modest damage but applies a stacking impairment effect, making it dangerous to economy units and constructors that cannot easily escape. Deploy in packs and stay out of return fire.

Placeholder: Roach

Roach

Main battle tank

The Tier 1 main battle tank, wielding a beam railgun that delivers consistent damage at respectable range. Slower than the Diamondback but significantly more durable, and its sustained beam fire is effective against armoured targets that skirmishers cannot reliably threaten. The workhorse of any early Alliance push.

Placeholder: Flashpoint

Flashpoint

Heat tank

A direct-fire tank built around a heat-accumulating wave laser that gets more dangerous the longer it stays on target. Each burst adds thermal stress, and a sufficiently heated target begins malfunctioning before it can disengage. Short sight range demands aggressive positioning, but units that fail to kite it pay for the mistake.

Placeholder: Scorpion

Scorpion

Artillery / anti-air

A Tier 1 artillery tank firing long-range lightning bolts that engage ground, air, and naval targets indiscriminately. Its electrical strike cannon arcs multiple bursts per shot over considerable distance, useful for area suppression as well as direct fire. Fragile and slow — keep it behind a frontline screen.

Ground — Tier 2

Placeholder: Reaper

Reaper

Main battle tank

Pairs a pulse beam with a rapid-fire pulse laser that adds consistent suppression alongside the primary weapon. The beam delivers heavy per-shot damage while the pulse laser fills the gaps between reloads. Together they make the Reaper a persistent and punishing threat across the full engagement range.

Placeholder: Cauterizer

Cauterizer

Heat tank

A significantly upgraded wave laser that burns through targets with greater intensity than the Flashpoint. The heat mechanic remains — each burst stacks thermal stress until the target malfunctions — but the Cauterizer hits harder and reaches further, making it far more threatening against armoured Tier 2 opposition.

Placeholder: Pulverizer

Pulverizer

Anti-air support tank

Combines a lightning cannon for light ground and air targets with a burst flak cannon that detonates at altitude and saturates the surrounding airspace with shrapnel. The lightning cannon handles closer threats while the flak denies higher-altitude approaches. Aircraft that operate within its reach do so at serious cost.

Placeholder: Luger

Luger

Self-propelled artillery

Lobs massive plasma shells at extreme range with a slow but devastating reload cycle. Defaults to hold-fire and must be directed manually — its enormous per-shot damage and wide blast radius can erase grouped formations or key structures in a single volley. Needs screening, good positioning, and patience.

Placeholder: Protector

Protector

Mobile shield tank

Projects a wide protective bubble around itself and nearby friendlies. Carries no offensive weapons and cannot fight — its value is entirely the cover it provides. A Protector embedded in an advancing formation absorbs fire that would otherwise shred your units. Keep it behind the front rank and keep it alive.

Ground — Tier 3

Placeholder: Mammoth

Mammoth

Main battle tank

Three simultaneous weapon systems: a heavy beam railgun for long-range precision, a rapid-fire electromagnetic pulse laser for sustained suppression, and a heat-accumulating wave laser that thermally degrades any target that holds in range. No single defence handles all three. Slow and massive, but it fights like three units at once.

Placeholder: Emperor Scorpion

Emperor Scorpion

Heavy artillery

Fires enormous bolts of chain lightning across a range most units cannot answer. Its electrical strike cannon fires twenty-arc bursts that jump between targets in the impact zone, and a single volley delivers damage that would destroy most units outright. Slow, fragile for its cost, and incapable of defending itself — but behind a solid line it devastates entire formations before they reach engagement range.

Ground — Tier 4

Placeholder: Silverback

Silverback

Apex ground unit · game-ender

An Endbringer-class mobile target evaporator: a sustained heavy beam railgun, a rapid-fire secondary railgun, and a forward microwave beam that scorches anything in its frontal arc. The heavy railgun alone deals damage few units can absorb; combined with constant suppression and close-range annihilation, the Silverback is a convergence of firepower most armies are simply not built to answer. Move it slowly, position it carefully, and let it work.

Air

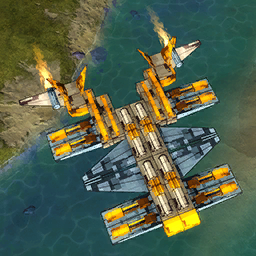
Placeholder: Wasp

Wasp

Interceptor

A forward-firing particle beam cannon that hits hard and reloads quickly. Purpose-built to kill aircraft; cannot engage ground targets and has no business in any other role. Get it into the airspace and anything flying becomes a problem.

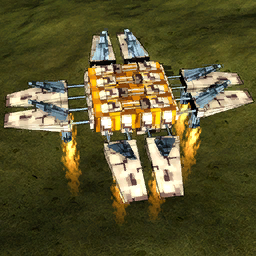
Placeholder: Hornet

Hornet

Strike fighter

Both dedicated air-to-air missiles and a burst air-to-ground missile rack. The air-to-air missile handles interceptor duties with reliable tracking; the ground rack delivers three-missile bursts. Genuinely flexible — it can clear airspace and then immediately turn to the ground without switching modes.

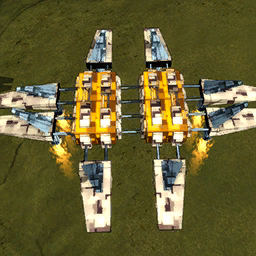
Placeholder: Bumblebee

Bumblebee

Assault bomber

Delivers napalm-laced explosive payloads that set the impact zone ablaze long after the initial strike. A rear-facing cannon provides limited self-defence; never fly it unescorted. Slow bomb reload demands careful target selection.

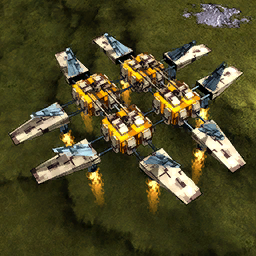
Placeholder: Locust

Locust

T3 heavy bomber

Drops massive incendiary bomb clusters and defends itself in every direction with six lightning cannons covering all approach angles simultaneously. The bombs set large areas ablaze; the omnidirectional lightning makes intercept attempts extremely costly. Not fast, but aircraft that try to shoot it down from any direction face immediate return fire.

Placeholder: Dragonfly

Dragonfly

T1 light transport

The basic air transport, lifting small ground units and repositioning them anywhere on the map. Carries no weapons and has no business in contested airspace. Keep it behind friendly air cover and use it to exploit gaps in the enemy's positioning.

Placeholder: Crane

Crane

T2 combat transport

Lifts heavier cargo than the Dragonfly, armed with a downward-firing railgun to suppress ground targets during loading and unloading. It exists to deliver an army somewhere unexpected — but the railgun makes approach and extraction far less one-sided. Run it on a repeating ferry line: Loz units are slow, and this is how they arrive as reinforcements rather than stragglers.

Placeholder: Titan

Titan

T3 massive transport

Carries far heavier cargo than the Crane, with a microwave beam cannon to suppress ground targets during deployment. At Tier 3 it lifts the Alliance's largest ground units and delivers them into the enemy's operational depth. An enemy that doesn't account for the Titan's reach will find entire armies appearing where they were never expected.

Placeholder: Snake

Snake

Torpedo corvette

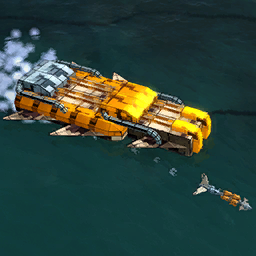
Fast, cheap, and armed with a rapid-cycling torpedo launcher that deals substantial damage per hit. Its unguided torpedo relies on raw speed; its quick reload keeps pressure sustained. Best used in packs to overwhelm heavier vessels before they can respond.

Placeholder: Enforcer

Enforcer

Frigate

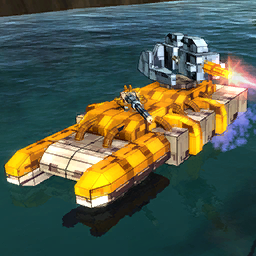
A heavy railgun for surface engagements and a lightning cannon that arcs across multiple targets in anti-air roles. The railgun hits hard at comfortable range while the lightning cannon provides credible defence against aircraft overhead. A solid all-around escort.

Placeholder: Executioner

Executioner

T2 destroyer

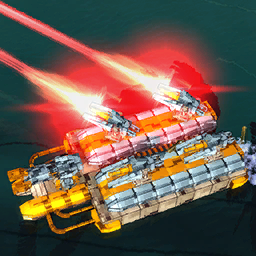
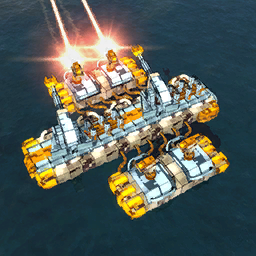
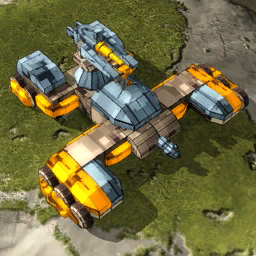
Four broadside beam cannons — two per side — supplemented by a torpedo launcher. The broadsides cover both flanks simultaneously with sustained damage while the torpedo provides a harder-hitting forward threat. A formidable fleet anchor that punishes enemies on any approach vector.

Placeholder: Warlord

Warlord

T2 heavy cruiser

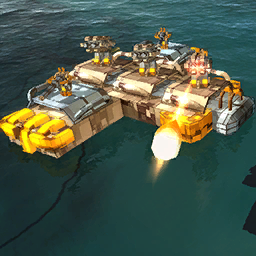
Three long-range plasma cannons for surface bombardment and twin lightning cannons for anti-air and supplemental ground coverage. The plasma reaches extreme range and hits hard. Slow and expensive; earns its place by threatening targets most ships cannot reach.

Placeholder: Leviathan

Leviathan

T3 battleship

The most powerful naval unit the faction fields: twin forward lightning cannons and four broadside beam lasers covering both flanks at extreme range. Very few approach vectors don't walk into sustained fire. Slow and expensive, but what it commits to engaging tends not to survive the experience.

Defence structures

Placeholder: Jericho

Jericho

T1 light anti-ground

A rapid gamma ray beam dealing consistent damage to any ground or naval unit in its short-to-medium range. Fast reload and continuous fire make it effective against raider swarms, though it lacks the punch to threaten heavier units reliably. Cheap enough to layer several in a cluster.

Placeholder: Razor

Razor

T1 light anti-air

Rapid bursts of chained lightning arcing across aircraft in its coverage zone. Each burst deals modest damage, but the fast reload and multi-arc discharge keep consistent pressure on anything airborne. The baseline air defence layer.

Placeholder: Inferno

Inferno

T2 heavy anti-ground

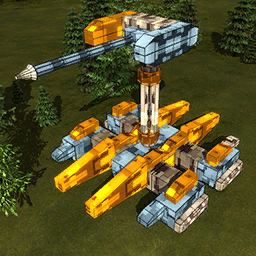
A sustained microwave beam that burns through ground and naval targets at long range with a fast reload cycle. It stays on target continuously rather than firing in bursts — exceptionally punishing against anything that holds still. Position it where enemy advances are expected to stall.

Placeholder: Rattlesnake

Rattlesnake

T2 anti-air

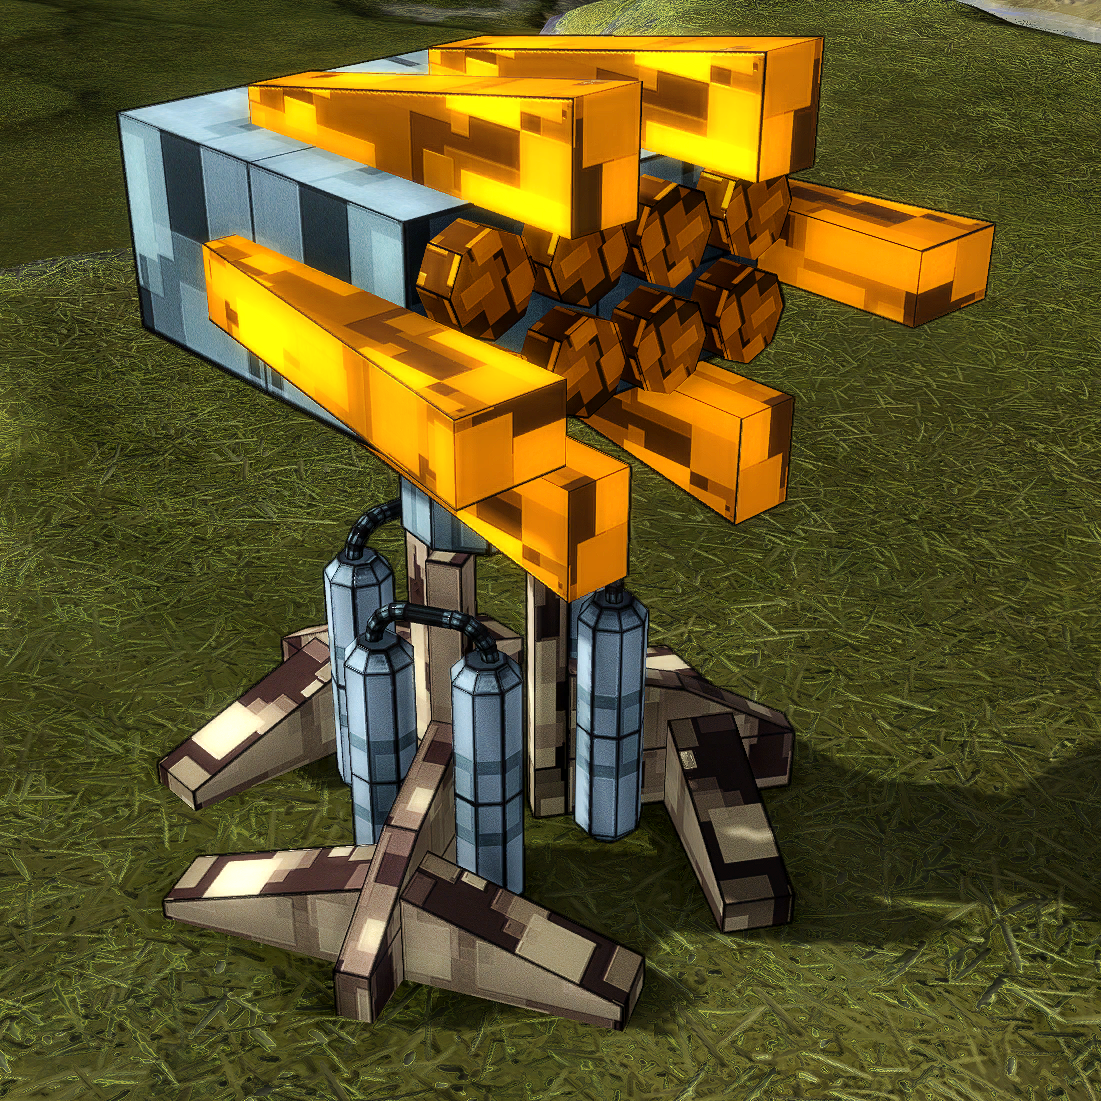
High-explosive flak rounds that detonate in the airspace above and scatter lethal fragments across a wide area. Large blast radius and high damage per shot make it exceptionally effective against both individual aircraft and formations. Aircraft that ignore the Rattlesnake rarely get a second chance.

Placeholder: Annihilator

Annihilator

T3 anti-MASSIVE

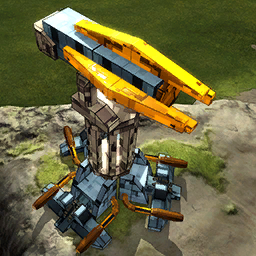
A high-intensity beam laser built to burn through the armour of the largest ground units and warships, preferring MASSIVE-category targets. It will engage ordinary units when nothing big is in range, but turns to the heavy target the moment one appears. Keep it screened from raiders and let it focus on the threats nothing else can handle.

Placeholder: Earthquake Mine

Earthquake Mine

Cloaked proximity mine

A cheap, cloaked Tier 1 proximity mine that deploys invisibly and waits. When tripped it fires a tight shotgun burst that shreds lightly armoured units and deals meaningful damage even to heavier targets. Scatter them liberally across chokepoints and approach routes.

Placeholder: Small Shield Generator

Small Shield Generator

T2 area shield · 250 radius

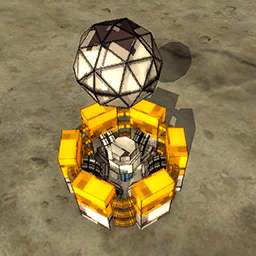
A 250-radius protective bubble with 1,200 shield power and modest regeneration. Not designed to weather sustained fire, but provides meaningful protection against lighter attacks and buys time to reposition under pressure. Free to run.

Placeholder: Large Shield Generator

Large Shield Generator

T3 area shield · 750 radius

A 750-radius bubble with 10,000 shield power and 300 regeneration per second. It absorbs a significant volume of fire before failing — and the 25-second recharge delay once collapsed is the window when a good opponent commits. The primary Tier 3 area defence against projectile weapons. Free to run.

Federation of Kala reference Shared structures Unit roles