SplinterFaction Real-time strategy
Shared Structures

Available to both factions. The economy is built from these; the factions only decide what you spend it on.

Jump to: Metal production · Energy production · Geothermal vents · Storage and supply · Reconnaissance · Survival mode

Metal production

Placeholder: EM Converter

E→M Converter

Tiers 1–4 · Resource locations only

The primary metal income structure for both factions, converting energy into metal at a rate scaled by the map's spot value and the converter's tech tier. Tier 1 doubles the base rate, Tier 2 triples it, Tier 3 produces more than five times, and Tier 4 more than ten — and every tier draws more energy to do it. Place converters on high-value spots and upgrade them as your tech and energy economy allows.

Placeholder: Geothermal EM Converter

Geothermal E→M Converter

On vents · Over ×21 base rate

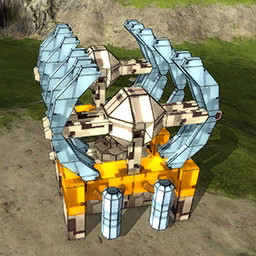
The highest-output metal production structure in the game, placed on geothermal vents and operating at the Tier 4 multiplier. A single well-sited Geothermal Converter on a high-value vent generates more metal than most players can spend in real time. Protect it as the strategic asset it is.

Energy production

Placeholder: Fission Energy Generator

Fission Energy Generator

T1 · 25 energy

The first available power plant, producing 25 energy from a compact footprint at essentially no tech requirement. Modest output, low cost, buildable early — the foundation of any energy economy. Stack several to bridge the gap to Tier 2 power.

Placeholder: Fusion Energy Generator

Fusion Energy Generator

T2 · 200 energy

A meaningful step up, providing a stable energy foundation for mid-game economies without the investment of higher-tier structures. Build several to sustain the demands Tier 2 units and upgrades introduce.

Placeholder: Cold Fusion Energy Generator

Cold Fusion Energy Generator

T3 · 1,000 energy

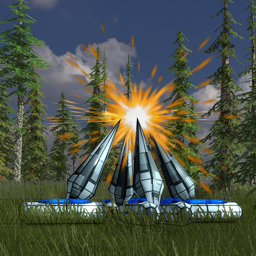
Fills the Tier 3 energy gap for commanders who need substantial power before the game's final tier. Its explosion is spectacular — but nothing chain-explodes, so your neighbours are safe.

Placeholder: Black Hole Power Facility

Black Hole Power Facility

T4 · 4,000 energy

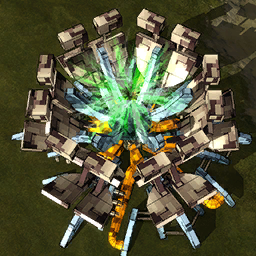
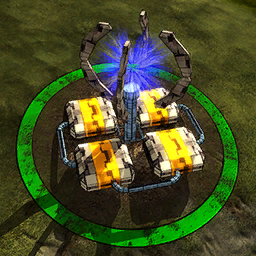
The apex energy generator, harnessing singularity-based power conversion to produce more energy than any other structure in the game. Enormous footprint, extreme cost, Tier 4 requirement — but a single facility sustains an energy economy nothing else can match at comparable size.

Placeholder: Geothermal Energy Generator

Geothermal Energy Generator

On vents · 350 energy

Taps natural thermal vents to produce 350 energy at Tier 1, outperforming the Fusion Generator at comparable cost when sited correctly. If your map has accessible vents, this is one of the most efficient early energy investments available to either faction.

Geothermal vents

Placeholder: Research Center

Research Center

On vents · RP acceleration

Uses an immense amount of power for its research, and must be placed on a geothermal vent. Its power requirements are so large that everything the vent generates is completely consumed and it needs to draw from other power sources to function. A net drain on your grid, not a self-sufficient building — and the only way to meaningfully accelerate research beyond the baseline trickle.

Placeholder: Geothermal Condenser

Geothermal Condenser

On vents · 2,000 storage, +100 supply

A combined resource storage and supply depot in a single building. The combination makes it an efficient use of a vent location when you need both.

Storage and supply

Placeholder: Basic Supply/Storage Depot

Basic Supply/Storage Depot

T0 · +20 supply

The foundational supply structure, available from the start for a minimal metal investment. Small footprint, builds quickly — the first structure any commander should place when army size starts bumping against the default limit.

Placeholder: Medium Supply Depot

Medium Supply Depot

T2 · +100 supply

Enables a meaningfully larger standing army. No storage or other function — it exists solely to raise your unit ceiling. Build them when your army is consistently hitting supply limits before you run out of metal.

Placeholder: Medium Resource Storage Facility

Medium Resource Storage Facility

T2 · 2,000 metal and energy

Extends the resource buffer available during mid-game expansion — preventing income spikes from going to waste and smoothing the energy fluctuations that come with running multiple production facilities at once.

Placeholder: Large Resource Storage Facility

Large Resource Storage Facility

T3 · 20,000 storage, +500 supply

The largest storage structure in the game. Enables the reserves needed to sustain prolonged Tier 3 and Tier 4 operations without income fluctuation disrupting critical build queues, and the supply grant contributes meaningfully to fielding larger armies.

Reconnaissance

Placeholder: Gnat

Gnat

Air scout drone · Both factions

A fast, nimble air scout drone. It doesn't have a lot of vision range, but it can get in and out without getting destroyed too quickly. With no radar in the game, this is how you find out what's actually on the map.

Survival mode

Placeholder: Spawn Beacon

Spawn Beacon

SurvivalAI

Very tough to kill, but doing so pushes back the invasion. The more beacons on the field, the more enemies you contend with; as enemy territory expands, so does the number of beacons. Beacons specialise — shield, cloaking, accelerator, forge — and garrison turrets defend them, so a beacon assault is a real operation.

Federation of Kala reference Loz Alliance reference How the economy works